I recently purchased a sensepeek Oscilloscope Probe kit , and wanted to share an honest review.
The following review is written with no affiliate links / financial motivations, and I purchased the kit with my own money.
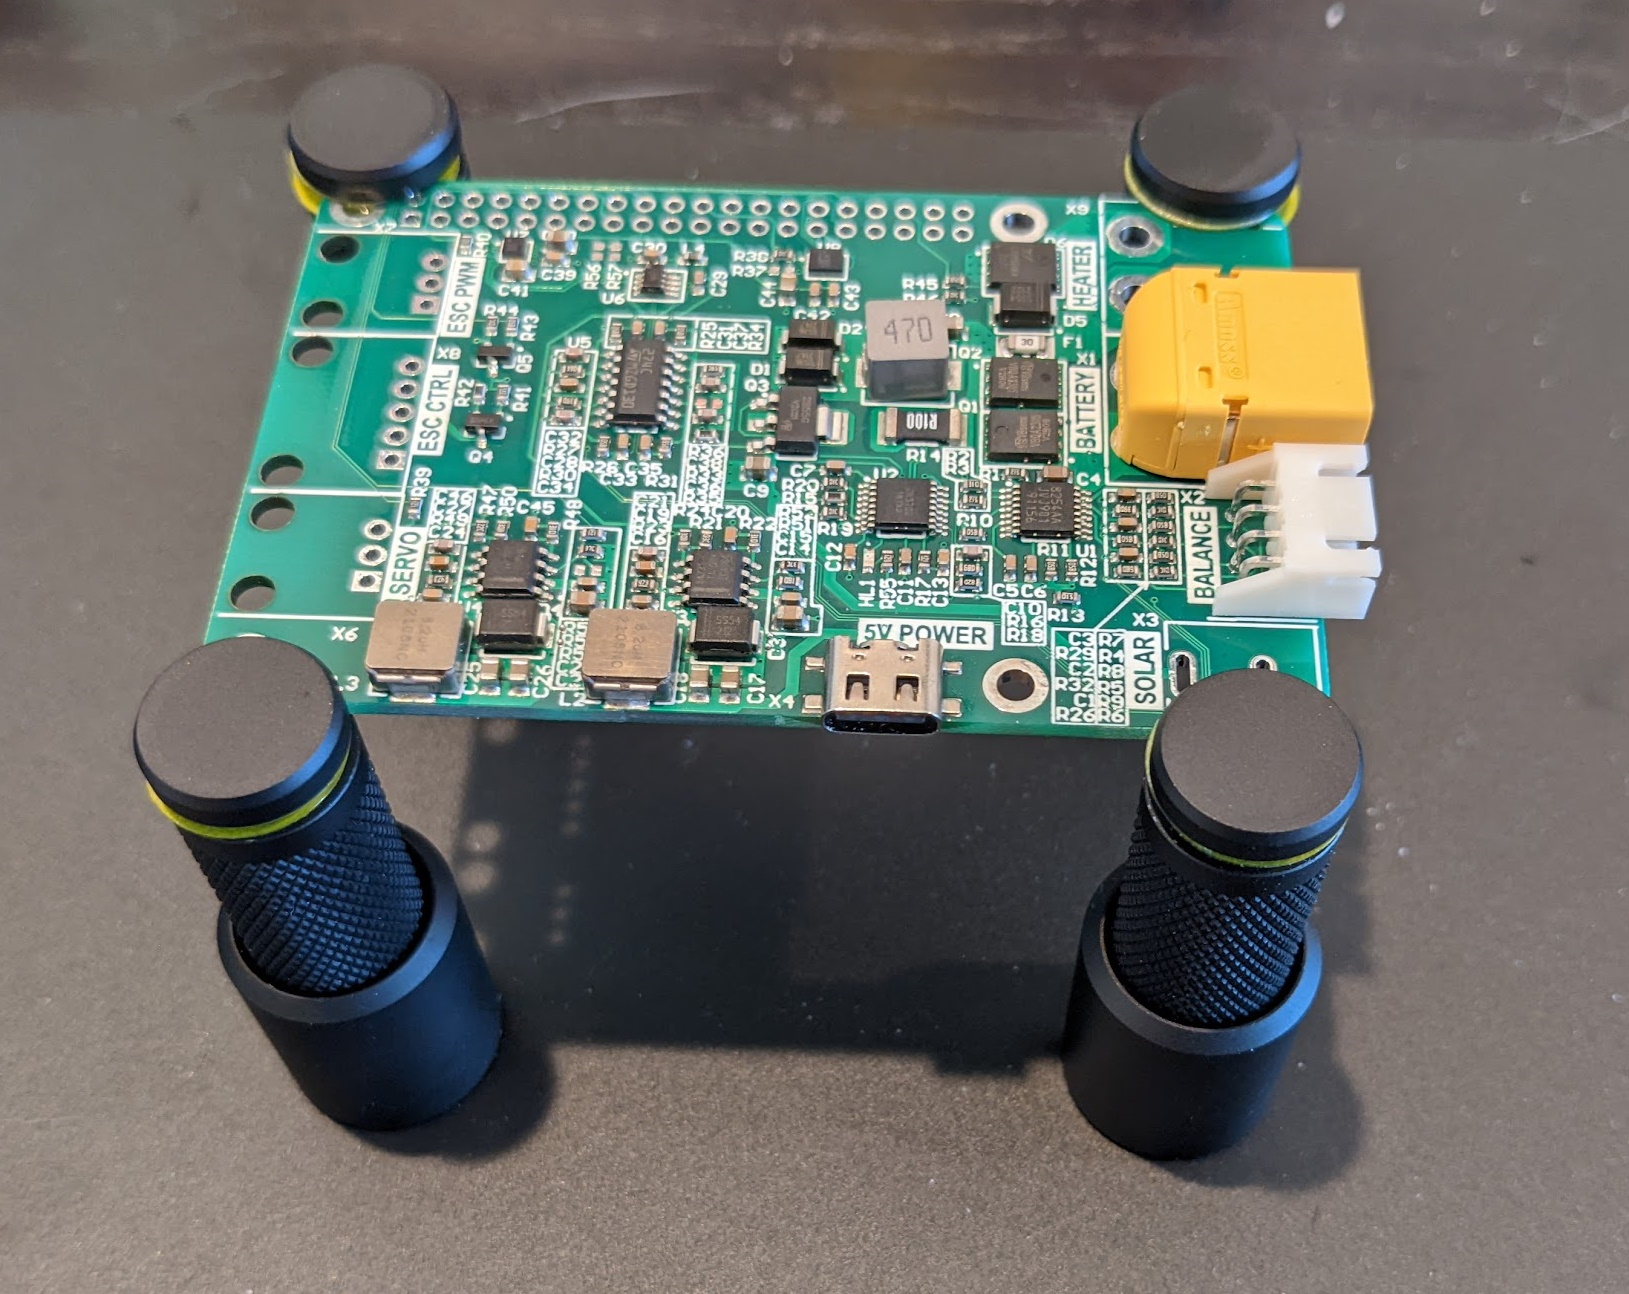
This kit is an essential part of my electronics workflow. It allows you to safely and sturdily attach a logic analyzer or 100/200Mhz probe to any testpoint, or SMD part lead, while keeping your hands free.
The kit comes with three main pieces:
- A metalic baseplate
- It now ships with a stick-on cover to make it non-conductive, but one side is also polished, which you can use to see the bottom side of your board.
- PCBite mounting posts which attach magnetically to the baseplate
- They also have a smooth teflon bottom, so they are easy to slide and re-adjust.
- Probes and Probe Holders
- These are similar to the “helping hands” kind, except less stiff. This actually helps the weight of the probe rest down on your testpoint and make a better connection.
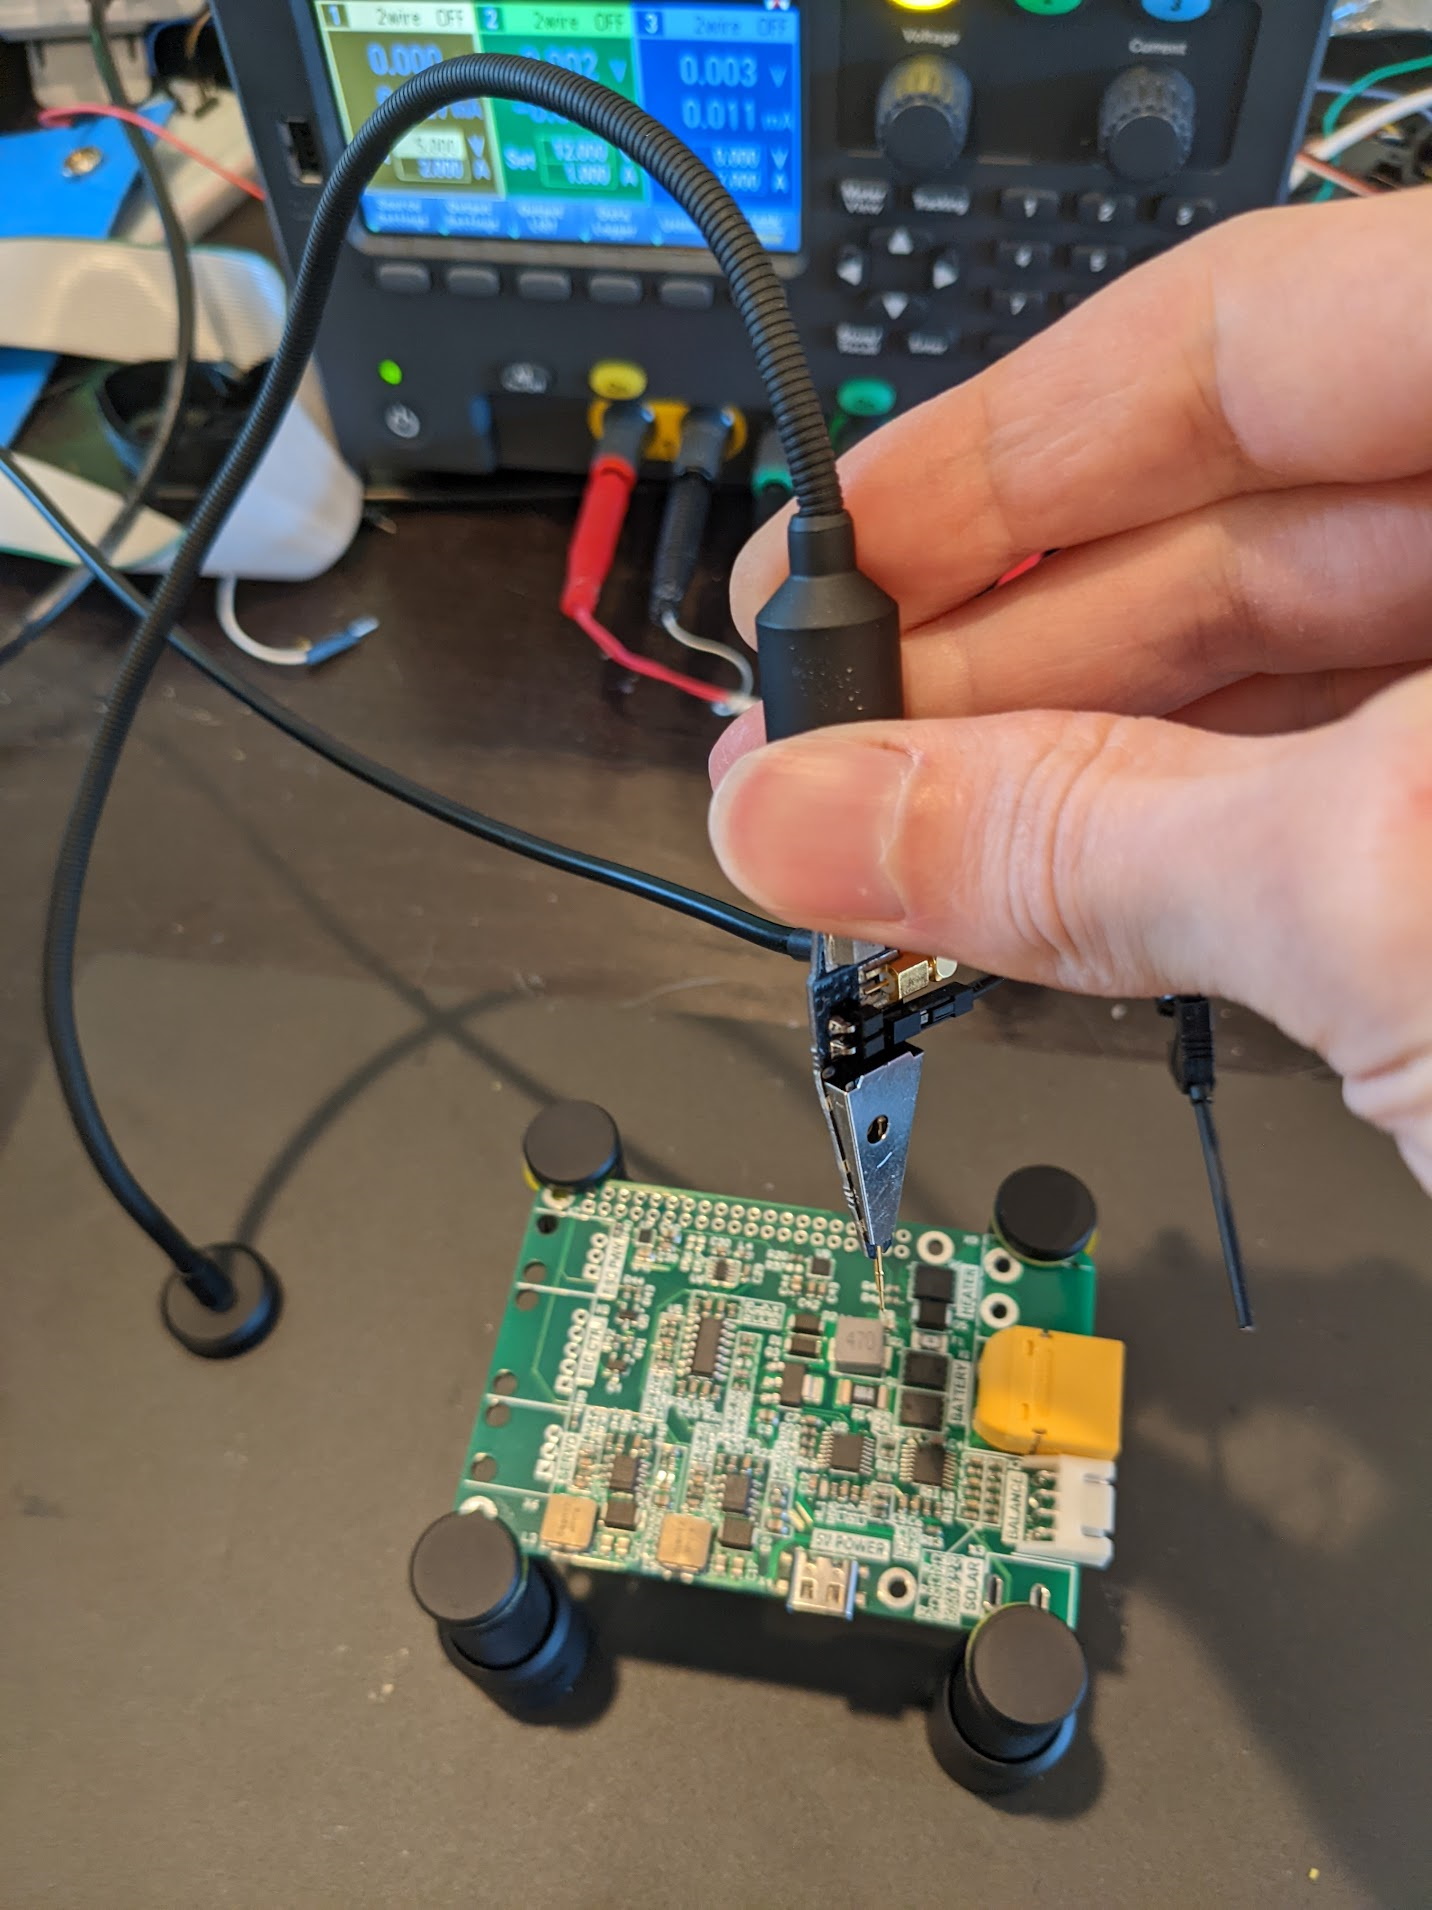
Mounting Examples
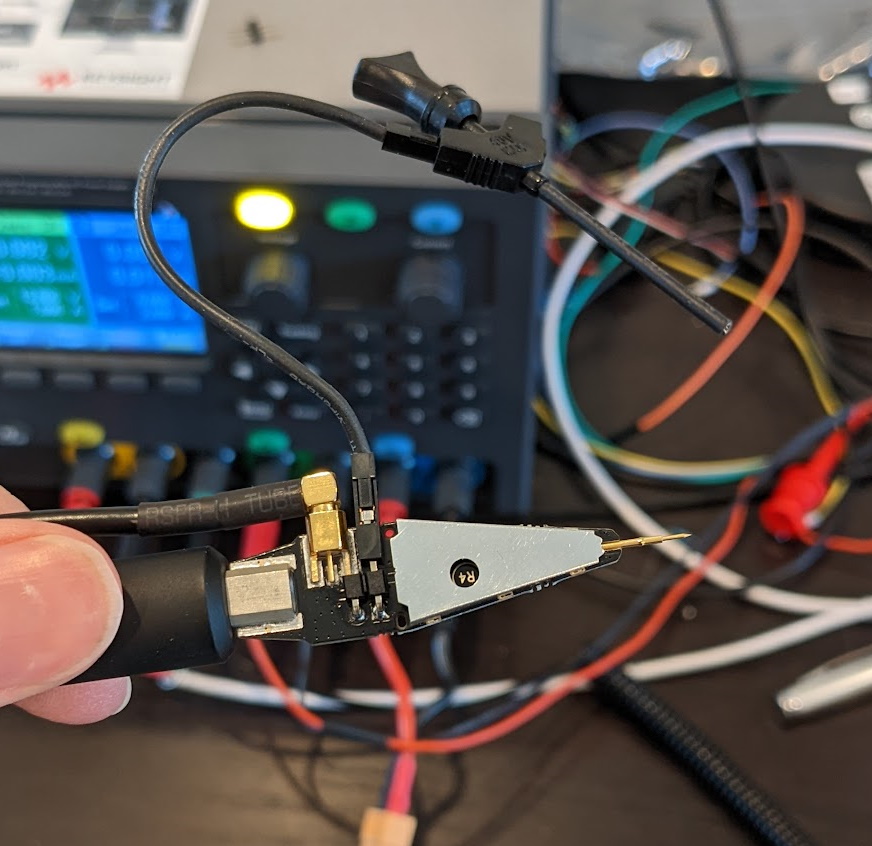
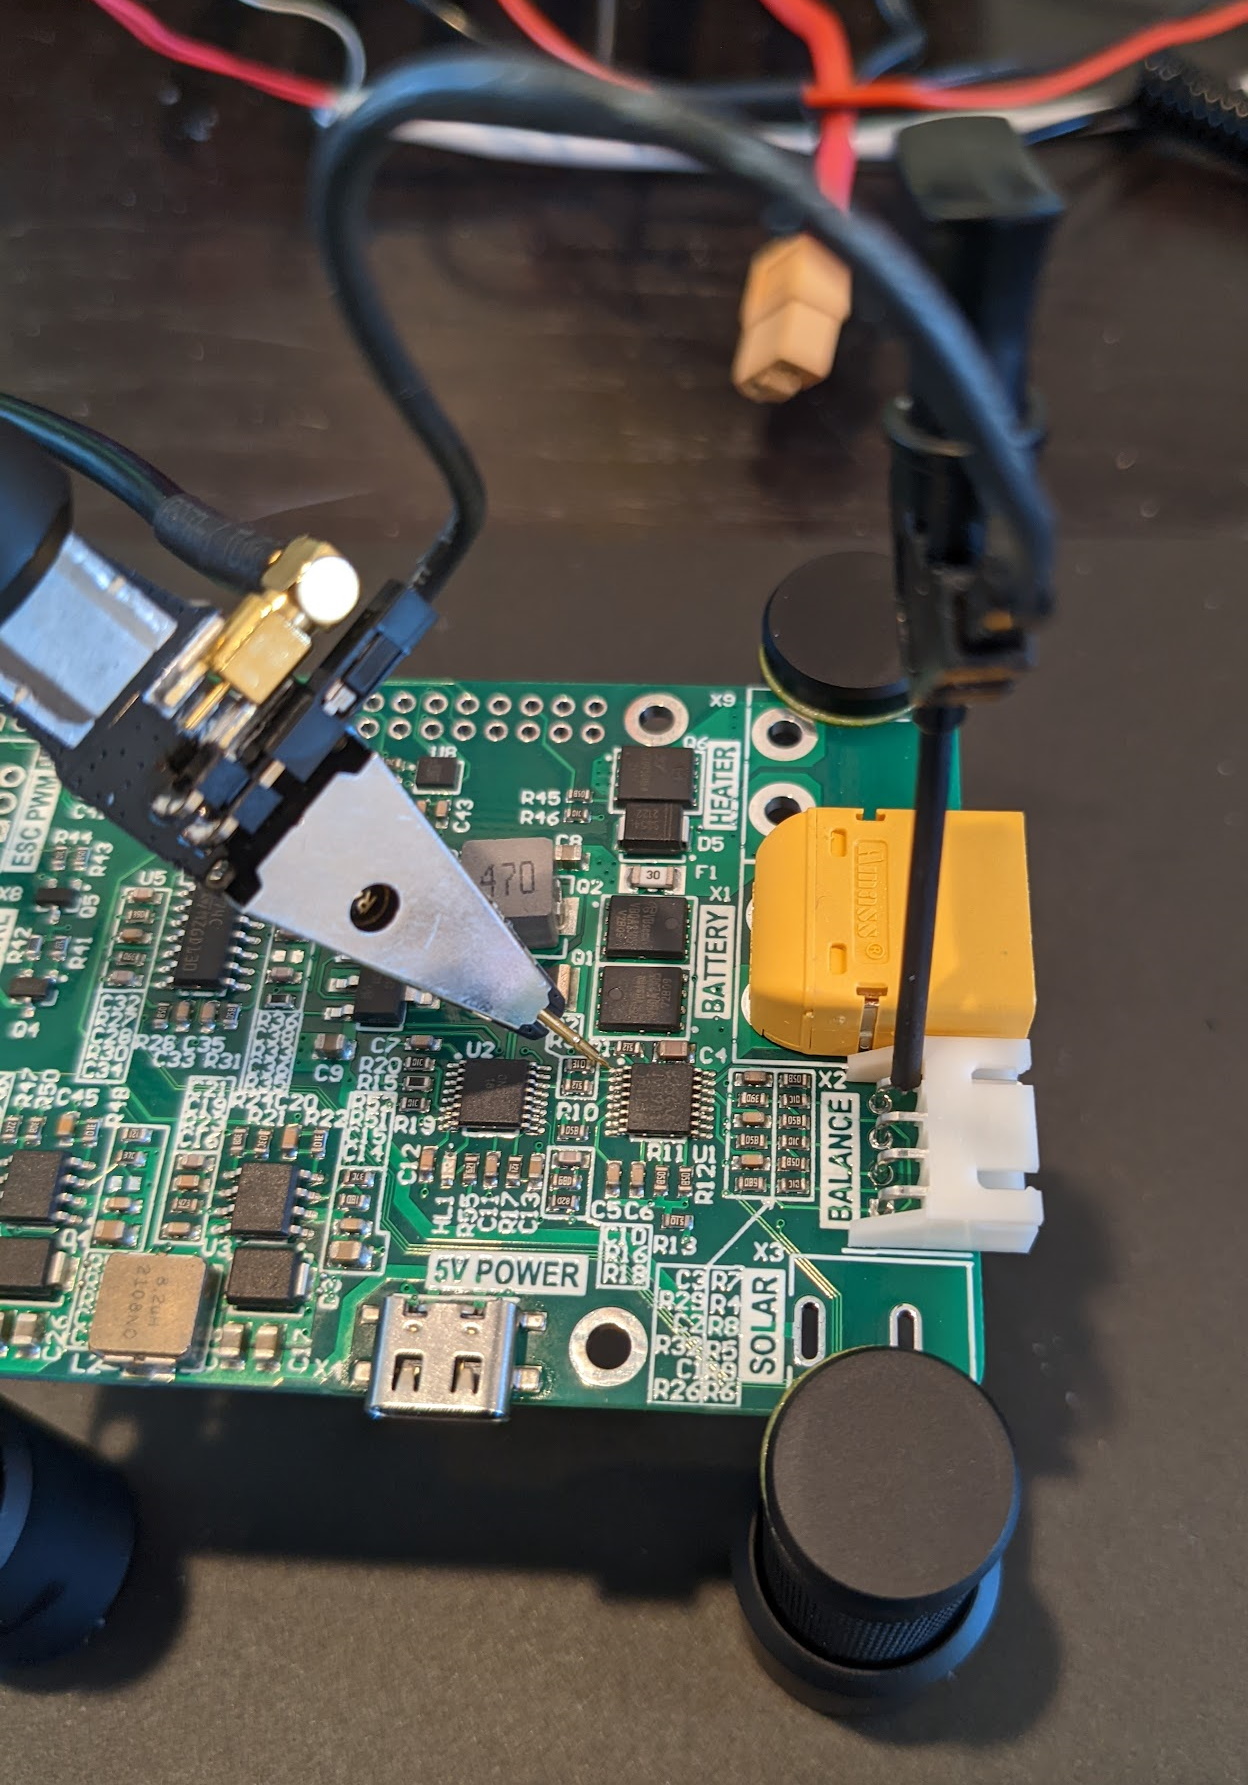
All of the sensepeek probes work the same way, there is a tiny, spring-loaded gold needle that can rest against a PCB test point. The weight of the supplied mounting “gooseneck” is actually perfect for applying some pressure on the pin. I found that it was very easy to adjust the gooseneck to come around from the proper side.
The connection formed is quite stable, so you can usually plug or unplug a connector on the board, and it won’t come undone.
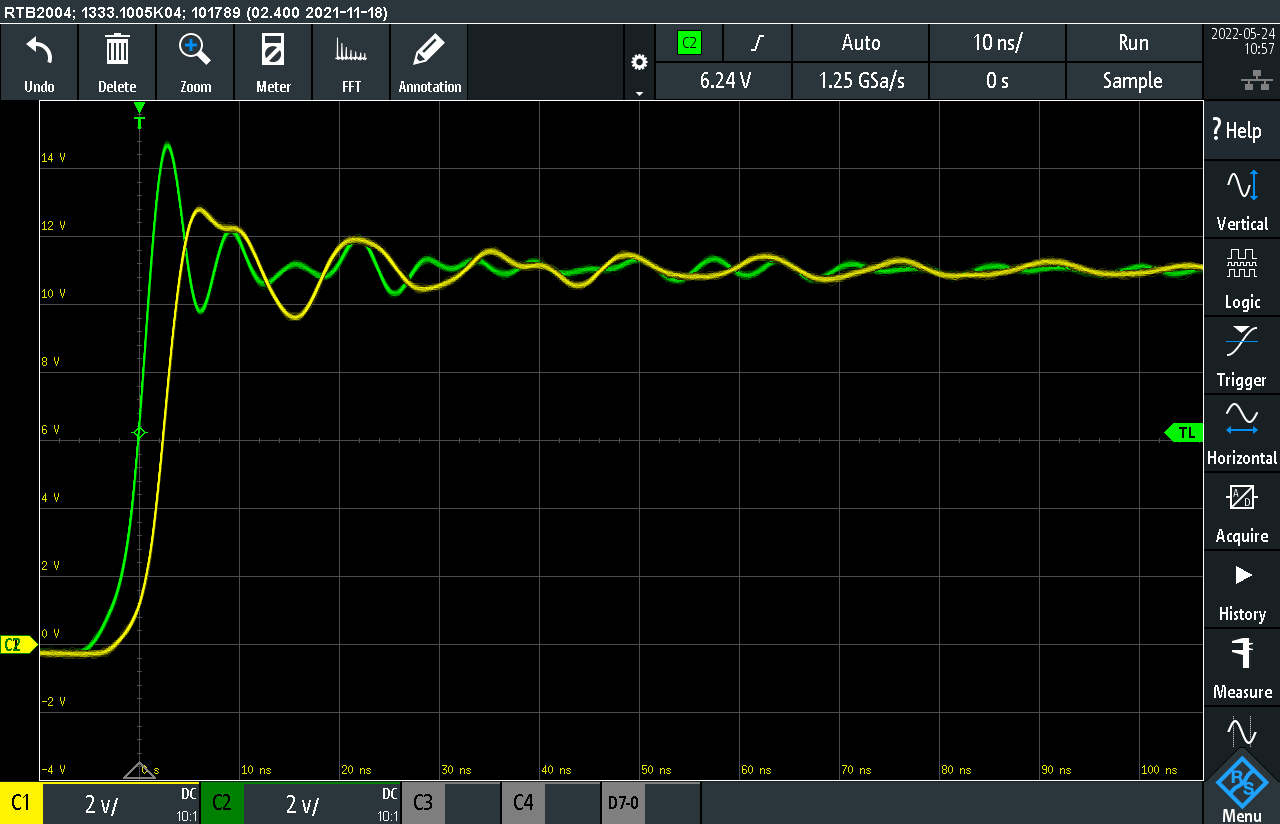
Signal Examples
Overall, performance on the 200Mhz probe is “good-enough”. This is not a probe for capturing super high-speed signals. But most of the time you don’t need that, you just want to probe your I2C/SPI bus, or see your FETs switching to see what is going on with your board.
If you want to squeeze a bit more performance out of the probes, they have some solder pads where you can attach a shorter, low-impedance ground path.

Overall, I’m very satisfied, the SP200 is now my default probe when bringing up a new electronics board. If I need to see a higher bandwidth signal, I can always start with the SP200 and connect a traditional passive probe later.
Additional Source: SP200 probe specs on xDevs